Sample S3 Repository Plugin
What You Need
- A setup instance of our Java RESTful Engine
- If you haven't setup your engine yet, follow the instructions in the article above. Shut down the engine after you set it up.
- A version of the Sample S3 Repository Plugin project
- An S3 Bucket
- An AWS DynamoDB Table
- AWS Access Key and AWS Secret Key
Setting Up The S3 Bucket
Create an S3 Bucket, but add these two folders in the bucket:
- "Templates"
- "Documents"
The S3 Bucket is now setup properly to use with this sample.
Setting up the AWS DynamoDB Table
Create a new DynamoDB table. You can name it whatever you want, but add "Guid" as the partition key as shown below:
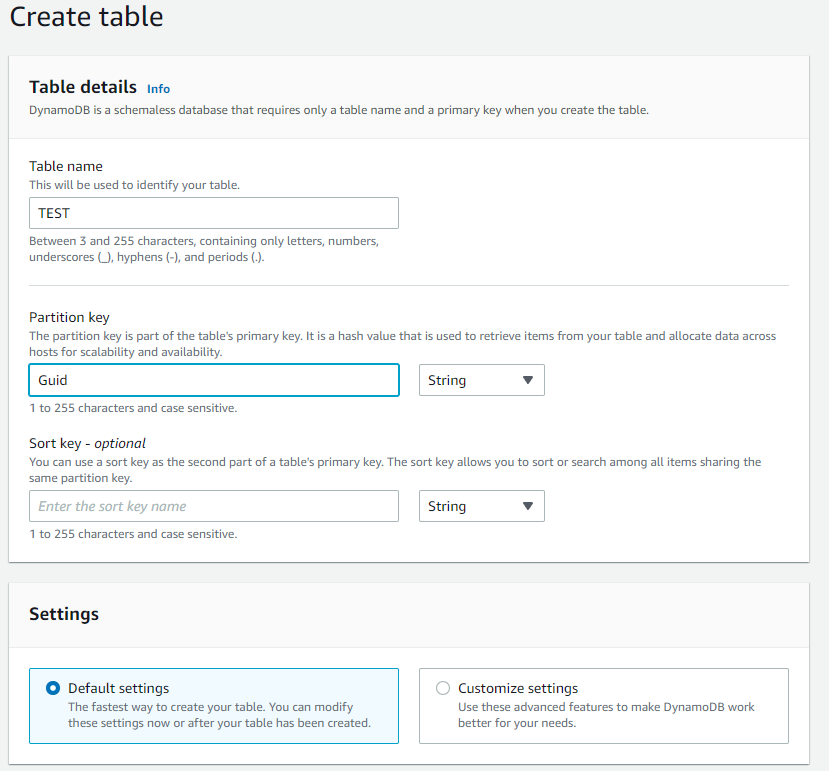
Once that is setup, click "Create". Your DynamoDB table is now setup properly to use with this sample.
Steps For Usage
After downloading the sample project off of github, and setting up the S3 Bucket and DynamoDB table as described above, follow these steps to setup the sample project and then using it in your RESTful Engine.
Setting Up Sample Project
- If you haven't already, shut down your installed instance of the RESTful engine.
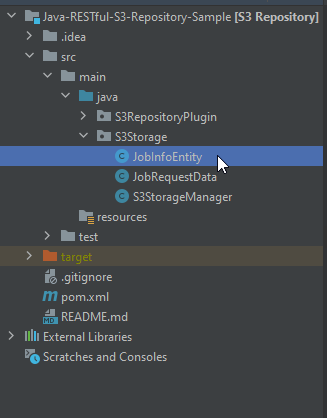
- After downloading the sample, open the Java-RESTful-S3-Repository-Sample in your preferred IDE
- Next, we will add your AWS credentials to the project. Open the
S3Repository.javafile and enter your S3 bucket name, AWS Access Key, and AWS Secret Key:


mvn clean install
Then use the generated JAR in the RESTful Engine.
You can setup this project wherever you want, but your RESTful server must be able to access the JAR. If you build the project somewhere other than your RESTful server, make sure you place the JARs on your RESTful server.
Using DLL in RESTful Engine
You will need to get the full path to the S3Repository.jar that was generated by the build in step 7. The jar will be in the following directory:
...\Java-RESTful-S3-Repository-Sample\target\S3Repository-1.0.0-jar-with-dependencies.jar
You will see 2 JARs in that directory, make sure to get the one titled S3Repository-1.0.0-jar-with-dependencies.jar as it includes all the dependencies we need.
Once you've got the full path, append it to the following line of code (where it says full path to dll):
repository={FULL_PATH_TO_DLL}!S3RepositoryPlugin.S3Repository
Then you will need to add this to the WindwardReports.properties file that will be found here:
...\Apache Software Foundation\Tomcat 10.0\webapps\ROOT\WEB-INF\classes\WindwardReports.properties
You should be good to start up your RESTful engine now and start sending requests to it.